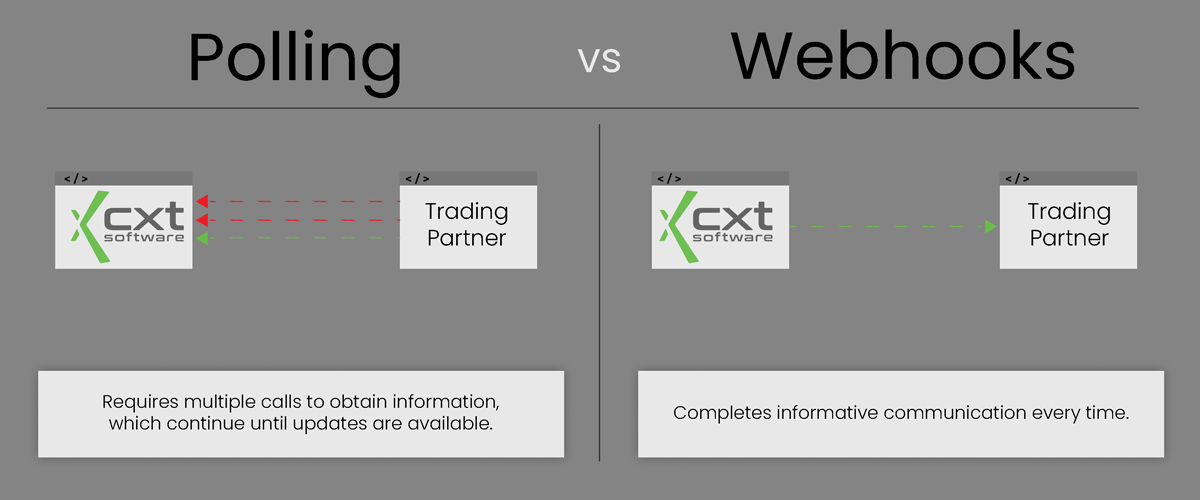
The API has great flexibility and various possible uses for business applications. With its increased popularity in the industry, and the ability to meet customized needs, you can save time and money – and innovate faster.
They key to getting ahead, is getting started.
APIs are a hot topic that everyone seems to be talking about. As a concept, it’s exciting, but when it comes to understanding how to leverage an API for business purposes, it can be confusing. To help demystify the API, we’ve tapped our integrations team to share insights and examples of how shippers and delivery companies leverage the API right now.
Easy is relative, right? Trust us, while interacting with an API sounds complicated, for developers, using an API to create orders and integrate with trading partners is straightforward and easy to implement. We’re here to help your developers understand and use our API – below are a few steps to get started! Our full technical documentation is available here.
Trading partners can use the API to create shipments, track shipments, get ETAs, driver, request driver locations, and much more
The API has a wide range of possible uses, and various tools can be used. For this walkthrough we’ll use the documentation UI portal to create an order. Although this documentation UI portal would not typically be used to interface with the API for a completed integration solution, it can be used for development and testing.
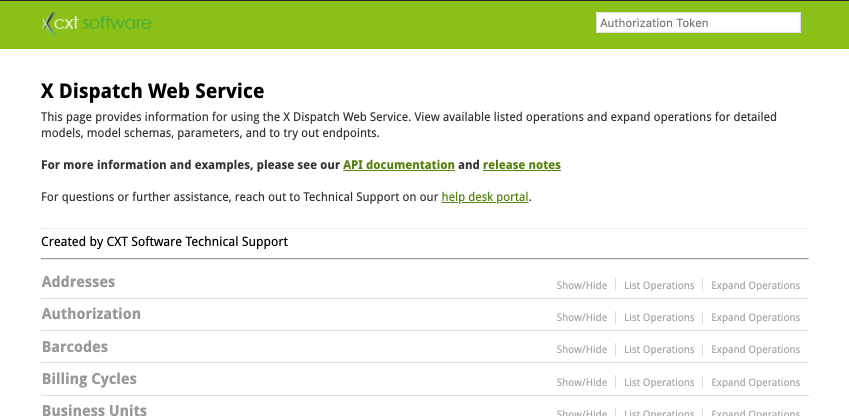
Each CXT Software customer has their own dedicated documentation UI portal URL. Not sure what it is? See the Getting Started section of our documentation here.
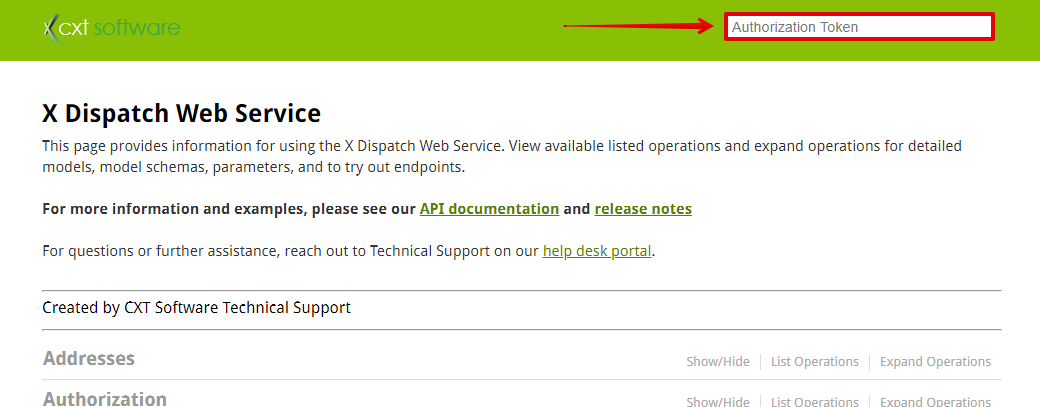
Once you have the right URL, the web page should look something like this:
Authorization tokens are provided as a result of authentication (providing user/password credentials, in order to interact with the database). Authentication is based on user-types, depending on which action needs to be taken with the API. For more details, see the Authenticate section of our documentation here.
To create an order, authenticate using an “Internet User” type.
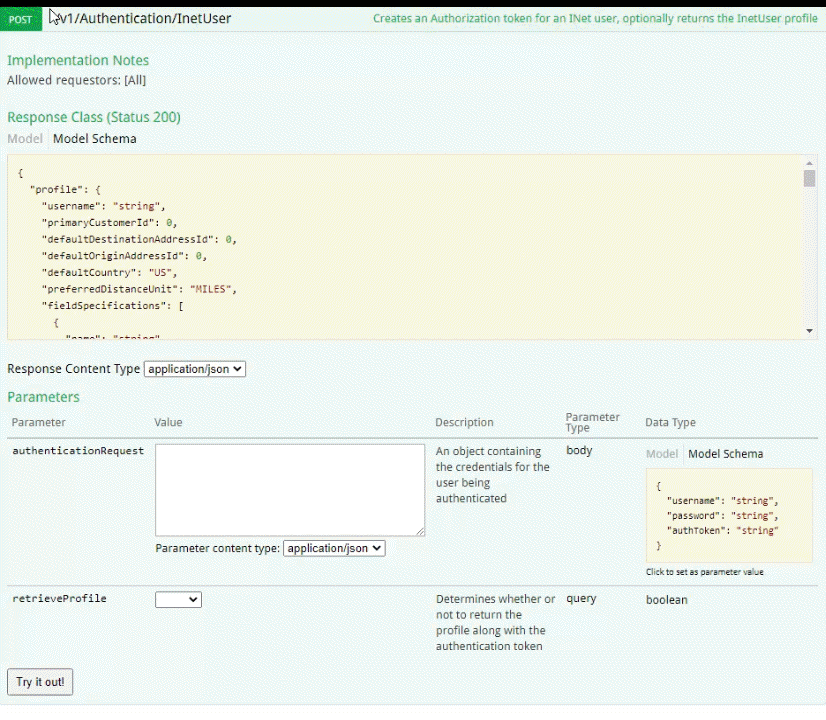
Add the authorization token to the field at the top of the webpage.
See detail here regarding valid authentication duration, for each user type.
You can find this endpoint under the “Orders” and “Supported” sections.
Similar to how authentication was achieved, expand the v1/Orders row to interact with the API endpoint for creating a new on demand order. Single click, to populate the “Model Schema” into the “orderRequest” box, and replace the schema values with your order details.
Here’s an example, with basic and required order fields (the bold values represent sample data)
{
“order”: {
“custId”: 1,
“readyTimeFrom”: 1594836000000,
“orderType”: 5050,
“origin”: {
“name”: “Mystery Castle“,
“address1”: “800 E Mineral Rd“,
“city”: “Phoenix“,
“state”: “AZ“,
“zip”: “85042“,
},
“destination”: {
“name”: “Tlaquepaque Arts & Shopping Village“,
“address1”: “336 AZ-179“,
“city”: “Sedona“,
“state”: “AZ“,
“zip”: “86336“,
}
}
}
Tech Tip: Dates should be entered in milliseconds (in UTC time) for JSON requests. In the above example, 1594836000000 converts to Jul 15 2020 18:00:00 UTC (11:00:00 Pacific Time).
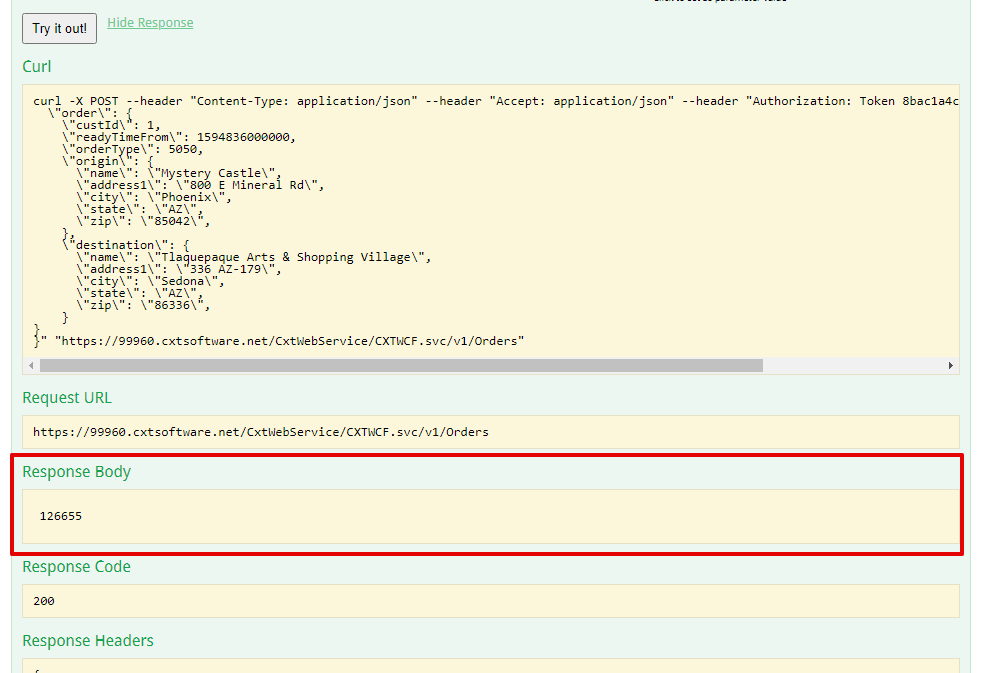
If the post is successful, the Response body will contain your order number.
Webhooks are used by the operations app to provide integration/trading partners or other third-party applications with real-time details based on status events such as picked up or delivered. Typical APIs require third-parties to regularly poll your system for updates while webhooks save time and resources by making the constant polling unnecessary. More information can be found in our documentation.
The webhook functionality is available in a basic or advanced configurations.
A basic webhook sends a pre-determined set of basic data from your system to a third-party system when a status event occurs (such as picked up or delivered). For example, this could be sending an update from your system to your trading partner when you’ve completed a pickup or delivery for one of their orders. Because this notification may not provide enough information, trading partners will likely prefer to request a full order update from the API as a follow up call for more information.
An advanced webhook is similar to a basic webhook, but with customization options for the information included when a status event occurs. If the pre-determined set of details from the basic webhook does not provide the trading partner with the information they need (or they are not able to make a follow up API call to get more info, and prefer to accept web posts) the details sent via the webhook can be expanded using the advanced webhooks to provide more information in real-time.
For more extensive walkthroughs and comprehensive information, check out our knowledge base!
Our web service allows for consistent integrations and services, making it easier for third parties to integrate with the Operations App. It is accessible by both REST and SOAP and accepts both XML and JSON requests. Read more...
Our webhooks are used to provide integration/trading partners or other third-party applications with real-time details based on status events such as picked up or delivered. Read more...
Test your API knowledge with this checkpoint.
Click the “View Questions” button when finished to see additional detail about each question and answer.
0 of 3 Questions completed
Questions:
You have already completed the checkpoint before. Hence you can not start it again.
Checkpoint is loading…
You must sign in or sign up to start the checkpoint.
You must first complete the following:
0 of 3 Questions answered correctly
Your time:
Time has elapsed
You have reached 0 of 0 point(s), (0)
Earned Point(s): 0 of 0, (0)
0 Essay(s) Pending (Possible Point(s): 0)
Average score |
|
Your score |
|
Before you go, tell us about your experience.
If you didn’t find what you were looking for, please send us a message here.